
Last updated September 22, 2026
Free written scope consultation - allowances, timeline, and change-order rules on paper before a single trade is scheduled

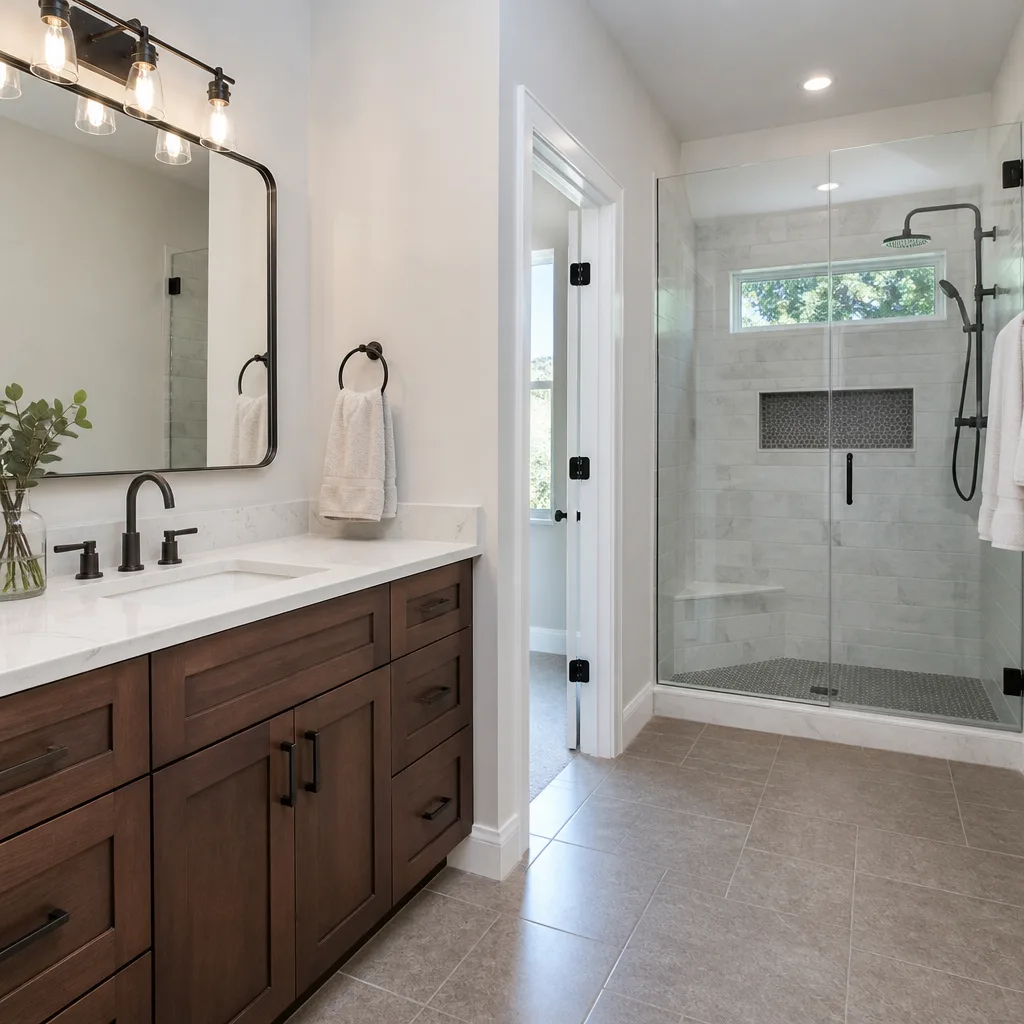





 Before
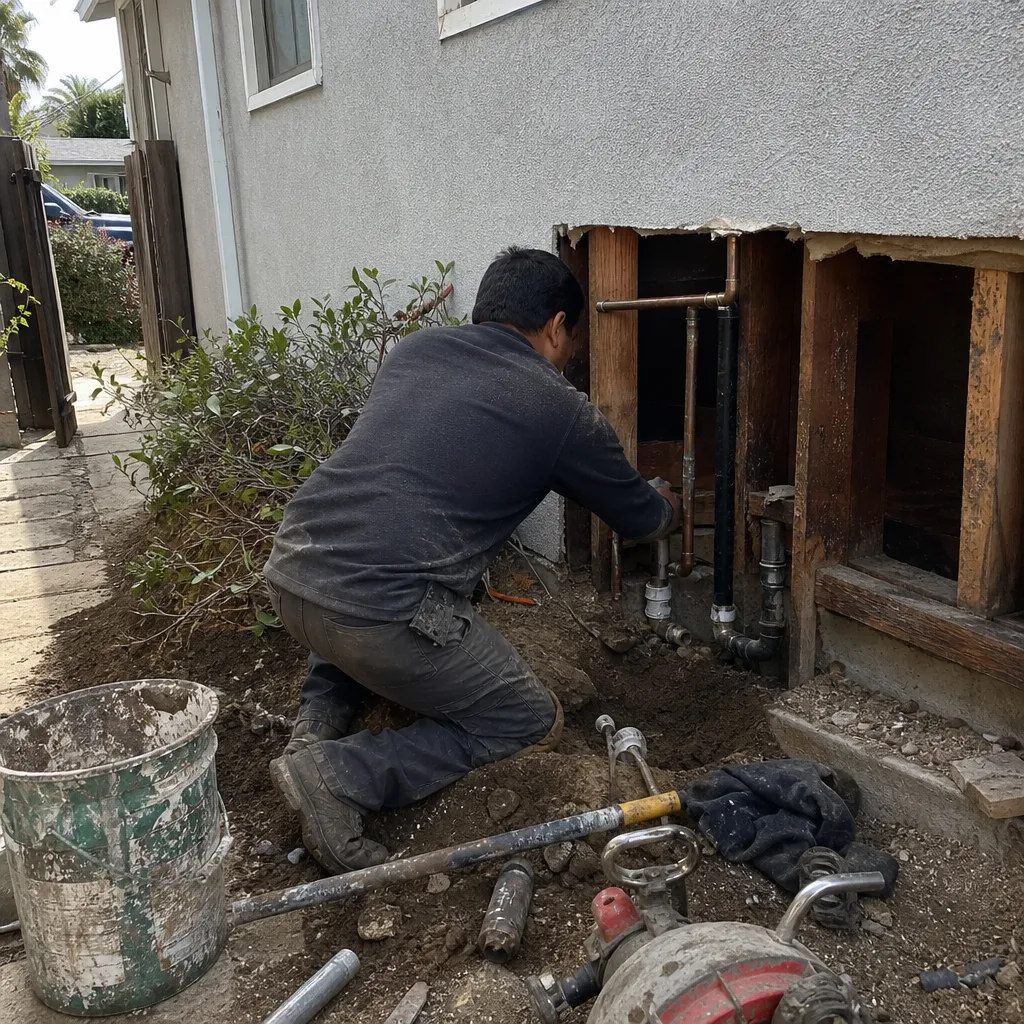
 After
After Before
 After
After Before
 After
AfterKitchen Remodeling Maintenance Checklist for Los Angeles Homeowners
Silicone caulk at the joint where your backsplash meets the countertop typically needs replacement within 3 to 5 years in a high-use kitchen. Most homeowners in Los Angeles discover the gap only after water has reached the substrate, because no contractor writes that interval into the post-project handoff. The same pattern repeats across every system in a renovated kitchen: grout sealing, range hood filter replacement, garbage disposal flushing, and cabinet hardware torque checks. Each has a calendar-driven maintenance window tied to the specific brands and materials installed. This guide gives you that calendar, organized by the systems we install most often in Los Angeles homes, with brand-specific instructions and a documentation log template that protects your warranty claims and resale disclosures.
Quick Answer
A kitchen remodel in Los Angeles requires monthly, quarterly, and annual maintenance tasks organized by installed system: grout sealing every 6 to 12 months for natural stone, range hood filter replacement every 3 to 6 months by CFM rating, garbage disposal flushing monthly, faucet aerator descaling quarterly due to 300+ ppm hard water in Valley zip codes, and cabinet hardware torque checks annually. Skip these and you risk voiding manufacturer warranties from Cambria, Caesarstone, and Silestone under California’s implied warranty law.
Table of Contents
- Month-by-Month First-Year Maintenance Schedule
- Countertops: Sealing, Descaling, and Warranty Protection
- Cabinets: Hardware, Hinges, and Soft-Close Mechanisms
- Fixtures and Faucets: Managing Los Angeles Hard Water
- Appliances and Ventilation: Filters, CFM, and Clearances
- Caulk, Sealants, and Movement Joints
- Documentation Log Template for Warranty and Resale
- Common Mistakes to Avoid
- When to Call a Professional
- Frequently Asked Questions
 Before
 After
AfterMonth-by-Month First-Year Maintenance Schedule
The first year after a kitchen remodel is when materials settle, adhesives cure completely, and installation stresses reveal themselves. We front-load the maintenance calendar because catching a problem in month three prevents the warranty claim you would file in year three.
Months 1-3: Settlement and Cure Period
During this window, caulk joints are finishing their full cure, cabinet boxes are adjusting to the humidity of your specific home, and grout is reaching its final porosity. Your tasks:
- Week 2: Inspect all caulk joints at backsplash-to-countertop, sink-to-countertop, and window-to-drywall interfaces. Look for shrinkage gaps or separation. If you see daylight through a joint, photograph it and contact your contractor - this is within the standard callback window for most Los Angeles kitchen remodeling projects.
- Month 1: Run your garbage disposal with a full sink of cold water for 60 seconds. This flushes accumulated debris from the installation period and tests the seal between the disposal and sink flange.
- Month 2: Check cabinet door and drawer alignment. The wood has now cycled through enough temperature variation to show whether hinges need adjustment. Soft-close mechanisms should still decelerate the door in the final 15 degrees of travel; if they slam, the hydraulic cylinder needs inspection.
- Month 3: Test every electrical outlet and GFCI receptacle installed during the remodel. Press the test button; the reset should pop out. In Los Angeles, where kitchen remodeling in Los Angeles frequently involves panel upgrades to meet current Title 24 energy code, this confirms your electrician’s work is holding.
Months 4-6: Hard Water Exposure Assessment
By month four, your fixtures have seen enough water flow to show whether Los Angeles municipal water is leaving scale deposits, as covered in our Seasonal Construction Care for Los Angeles: Year-Round Homeowner’s Guide. In the San Fernando Valley, water hardness regularly tests above 300 ppm; on the Westside, it runs closer to 180 ppm. The difference matters for your maintenance frequency.
- Remove faucet aerators and soak in white vinegar for 30 minutes. If scale flakes off in visible quantities, establish a quarterly descaling schedule.
- Run your dishwasher empty with a cup of white vinegar on the top rack. Check the door seal afterward for white buildup - a sign the seal material is degrading faster than expected.
- Inspect under-sink cabinet floors for moisture. The P-trap and disposal connections are the most common leak points in months 4-6, as vibration from daily use settles compression fittings.
Months 7-12: Warranty Documentation and Long-Term Scheduling
The second half of year one establishes your baseline for ongoing maintenance. Complete these tasks and record them in the documentation log described later in this guide:
- Month 6: Seal natural stone grout lines if your countertop or backsplash includes marble, travertine, or unpolished granite. Engineered quartz (Cambria, Caesarstone, Silestone) does not require sealing, but the grout between quartz tiles does.
- Month 9: Replace range hood grease filters. Even with moderate cooking, the filter media saturates within 6-9 months in Los Angeles homes where windows stay closed during Santa Ana wind events and high particulate days.
- Month 12: Torque-check cabinet hardware to manufacturer spec. Soft-close hinge mechanisms from Blum, Salice, and Grass each have specific torque ranges; over-tightening strips the adjustment cam, and under-tightening lets the door drift.
Countertops: Sealing, Descaling, and Warranty Protection
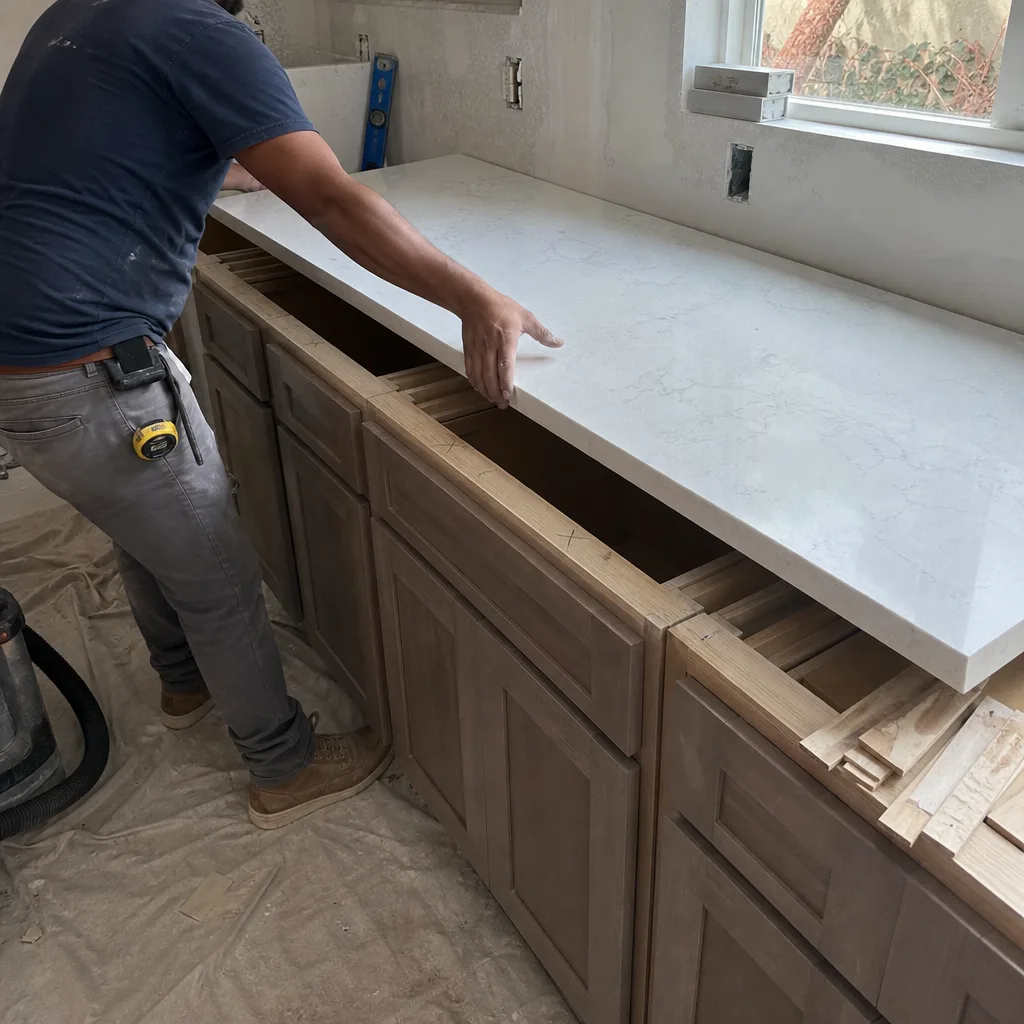
Countertop warranties are where most homeowners lose money through skipped maintenance. Cambria, Caesarstone, and Silestone each publish care guides that define “proper maintenance” as a condition of their 10- to 25-year warranties. California’s implied warranty law (Civil Code Section 1791.1) does not override these express conditions - if you cannot prove you followed the manufacturer’s maintenance schedule, your warranty claim may be denied.
Engineered Quartz: Cambria, Caesarstone, Silestone
These surfaces are non-porous and do not require sealing. This is their primary selling point. But “does not require sealing” is not the same as “maintenance-free.” The warranty conditions specify:
- Cambria: Clean with pH-neutral cleaner only; avoid bleach, oven cleaner, and abrasive pads. Thermal shock from placing hot cookware directly on the surface voids the warranty. Use trivets rated for 450°F minimum.
- Caesarstone: Annual professional inspection recommended for commercial installations; residential warranties require only that the owner follow the published care guide. Document your cleaning product purchases - a receipt for pH-neutral cleaner supports a warranty claim if surface etching occurs.
- Silestone: The “Q-Action” warranty extension to 25 years requires registration and proof of annual maintenance. Silestone’s published guide specifies avoiding prolonged exposure to strong chemicals including drain cleaners, which can degrade the resin binder.
In Los Angeles, the specific risk is UV exposure through south- and west-facing windows. All three manufacturers warn against direct sunlight over time, which can cause color shift in darker pigments. If your kitchen receives afternoon sun in neighborhoods like Silver Lake or Echo Park where hillside orientation maximizes exposure, install UV-filtering window film or keep blinds drawn during peak hours. This is not paranoia; we have documented color shift in a Cambria Brittanicca installation in Los Feliz after 18 months of unfiltered western exposure.
Natural Stone: Granite, Marble, Travertine
Natural stone requires penetrating sealer reapplication every 6 to 12 months in a kitchen environment. The test is simple: sprinkle water on the surface. If it beads, your sealer is intact. If it darkens the stone within 5 minutes, reseal immediately.
For Los Angeles homeowners, the sealer choice matters. Solvent-based sealers (DuPont StoneTech, Miracle Sealants 511) perform better on dense granites but have VOC restrictions under California’s SCAQMD rules. Water-based sealers (Aqua Mix, StoneTech Bulletproof) are compliant throughout Los Angeles County and adequate for most residential granites. Marble and travertine, being more porous, need the higher-performing solvent-based products where legally applicable - check your specific ZIP code’s SCAQMD designation.
Documentation for Warranty Claims
Every warranty claim we have assisted with - and we have handled claims across 4,000-plus projects since 2007 - has been strengthened by dated photographs and product receipts. The weakest claims are oral: “I cleaned it regularly.” The strongest claims show: “Sealer applied 3/15/2024, Miracle Sealants 511, purchased at Home Depot #6342, photographed beading test.” Under Clause 1 of the Haven Standard, our crews document the as-installed condition with photographs; the homeowner’s maintenance log completes the chain of custody.
Cabinets: Hardware, Hinges, and Soft-Close Mechanisms
Cabinet maintenance is the most neglected category in post-remodel care, largely because the systems are concealed and failures are gradual. A soft-close hinge that loses damping does not fail catastrophically; it simply lets the door close harder, month by month, until the slam is noticeable. By then, the adjustment cam may be worn beyond correction.
Hinge Adjustment Windows
European-style concealed hinges from Blum, Salice, and Grass dominate the Los Angeles market for kitchen remodeling. Each uses a three-cam adjustment system: depth (in-out), side-to-side, and vertical. The critical maintenance window is the first 12 months, when seasonal humidity changes cause the most movement.
| Manufacturer | Soft-Close Mechanism Type | Torque Spec for Mounting Screws | Adjustment Tool |
|---|---|---|---|
| Blum (Blumotion) | Integrated hydraulic cylinder in hinge cup | 2.5 Nm for 3.5mm wood screw | 2mm hex key for adjustment cams |
| Salice (Silentia) | Separate damping element on hinge arm | 2.0 Nm for standard cabinet screw | Phillips #2 for mounting, 2.5mm hex for damping element |
| Grass (TIOMOS) | Clip-on damping module | 3.0 Nm for confirmat screw | 4mm hex key for module clip |
Over-tightening mounting screws is the most common error. The particleboard or MDF core of most cabinet boxes compresses under excessive torque, stripping the screw’s holding power. If a hinge loosens repeatedly, the mounting hole is likely ovalized. The proper repair is a hardwood dowel and re-drill, not a longer screw.
Drawer Slide Maintenance
Undermount soft-close slides from Blum Tandem and Grass Dynapro carry weight ratings (typically 75 lb to 100 lb dynamic load) that depend on proper side clearance. Drawer boxes that rub the cabinet face frame indicate slide misalignment, which accelerates bearing wear. The maintenance task is simple: with the drawer removed, check that the slide members move freely without binding. Apply a dry PTFE lubricant (Blum’s own product, or a generic equivalent) to the ball-bearing races annually. Never use WD-40 or oil-based lubricants; they attract kitchen grease and grit.
For Los Angeles homeowners near the coast - Santa Monica, Marina del Rey, Playa del Rey - salt air accelerates corrosion on steel slide components. We specify stainless steel or zinc-plated slides for coastal installations, but if your remodel did not include this upgrade, annual inspection for rust spotting is essential. Surface rust can be addressed with fine steel wool and a corrosion inhibitor; pitting requires slide replacement.
Fixtures and Faucets: Managing Los Angeles Hard Water
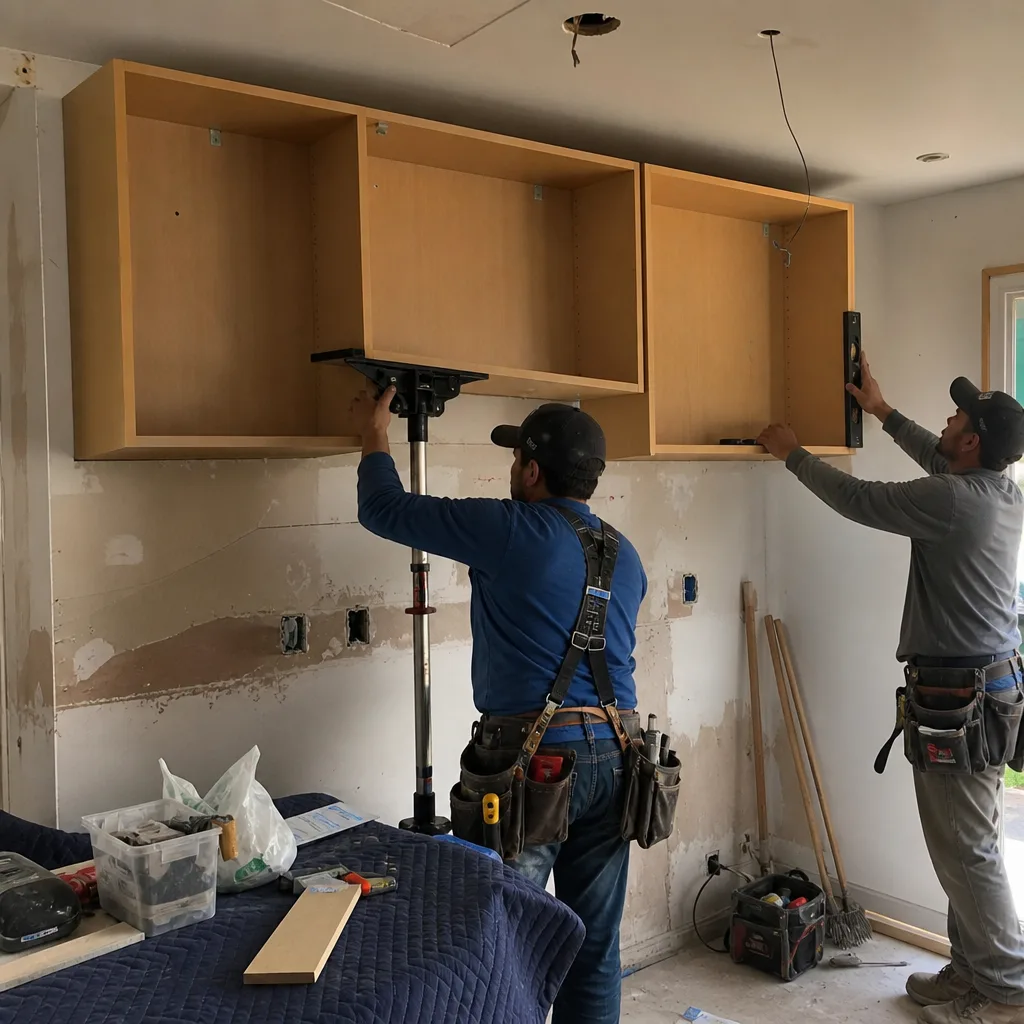
Los Angeles water hardness varies dramatically by source. The Los Angeles Aqueduct brings snowmelt from the Eastern Sierra, relatively soft at 80 to 120 ppm. The Colorado River Aqueduct water, which supplements Valley supply, runs 250 to 350 ppm. The Metropolitan Water District blends these sources seasonally, so your hardness can shift month to month. This variability is why a faucet that performed fine in your previous home now scales rapidly.
Brand-Specific Descaling Protocols
Each major fixture manufacturer specifies acceptable cleaning methods. Using the wrong product voids the finish warranty.
Kohler: For Vibrant finishes (PVD physical vapor deposition), Kohler specifies warm water and mild soap only. For scale removal, soak a cloth in equal parts white vinegar and water, apply for no more than 2 minutes, then rinse thoroughly. Prolonged vinegar exposure etches PVD layers. The aerator unscrews counterclockwise by hand or with strap wrenches; Kohler’s Cache aerator system requires a specific key, available at hardware stores or from Kohler directly.
Moen: Moen’s LifeShine finish carries a lifetime warranty against tarnishing, but the warranty excludes damage from abrasive cleaners, ammonia, and chlorine bleach. For descaling, Moen recommends their own product or a 50/50 vinegar solution with a 5-minute maximum contact time. The aerator on Moen faucets is typically a standard 15/16-27 thread, removable with channel-lock pliers padded with tape.
Delta: Delta’s Brilliance finish resists corrosion but is susceptible to mineral etching if scale is allowed to build. Delta publishes a specific procedure: remove aerator, soak in vinegar for 30 minutes, brush with soft toothbrush, rinse. For the faucet body itself, Delta’s warranty covers finish defects but not “environmental damage” - their term for hard water scale that has been neglected.
Dishwasher Seal Maintenance
The door seal on your dishwasher is silicone or EPDM rubber, both of which degrade in hard water. Scale accumulation on the seal surface prevents proper door closure, which leaks steam into the cabinet below and warps the toe-kick. Monthly inspection: run your finger along the seal’s contact surface. If you feel grit or roughness, wipe with a damp cloth and apply a thin film of petroleum jelly to condition the rubber. If the seal has visible cracks, replace it - the part costs $15 to $30, and the labor is 10 minutes on most models.
Appliances and Ventilation: Filters, CFM, and Clearances
Ventilation is the system most likely to be underspecified in a kitchen remodel, and the most likely to fail from maintenance neglect. A range hood that moves insufficient air for your cooktop’s BTU output deposits grease throughout the kitchen, accelerating cabinet finish degradation and creating fire risk.
Filter Replacement by CFM Rating and Cooking Style
CFM (cubic feet per minute) measures airflow. Higher CFM hoods move more air but also load filters faster. The maintenance interval depends on both rating and usage:
- 300-400 CFM: Standard for electric cooktops and moderate gas cooking. Replace or clean mesh filters every 6 months with average use (4-5 meals weekly).
- 600-900 CFM: Required for pro-style gas ranges (36,000+ BTU). Replace baffle filters every 3-4 months; these capture grease in channels that are harder to clean than mesh.
- 1200+ CFM: Custom or commercial-style installations. Replace charcoal filters (if recirculating) every 2-3 months; these are not cleanable. Baffle filters clean in dishwasher monthly.
In Los Angeles, where Title 24 energy code increasingly requires makeup air for hoods over 400 CFM, the maintenance task extends to the makeup air damper. This motorized louver opens when the hood operates, balancing pressure so conditioned air is not sucked from the home. Test monthly: with the hood on high, verify the damper opens fully and quietly. Grinding or delayed operation indicates the motor actuator needs service.
Garbage Disposal Flushing
The InSinkErator Evolution series, common in our kitchen remodeling in Los Angeles installations, has a 3/4-horsepower motor that can handle most food waste but is damaged by starch accumulation. Monthly maintenance: fill the sink with cold water, run the disposal until the sink drains, then continue running cold water for 15 seconds. This flushes the grind chamber and P-trap. Every 3 months, grind a handful of ice cubes to scour the chamber walls; the ice chips dislodge grease buildup without damaging the stainless steel grind ring.
Refrigerator Water Lines and Filters
If your remodel included a water line for the refrigerator’s ice maker, the copper or PEX tubing behind the cabinet is vulnerable to kinking during drawer operation. Annual inspection: pull the refrigerator out (use an appliance slider or cardboard to protect flooring) and verify the line has a service loop with no tension. Replace the inline water filter every 6 months, or when flow rate drops noticeably. In hard water areas, scale reduces filter life by 20 to 30 percent.
Caulk, Sealants, and Movement Joints
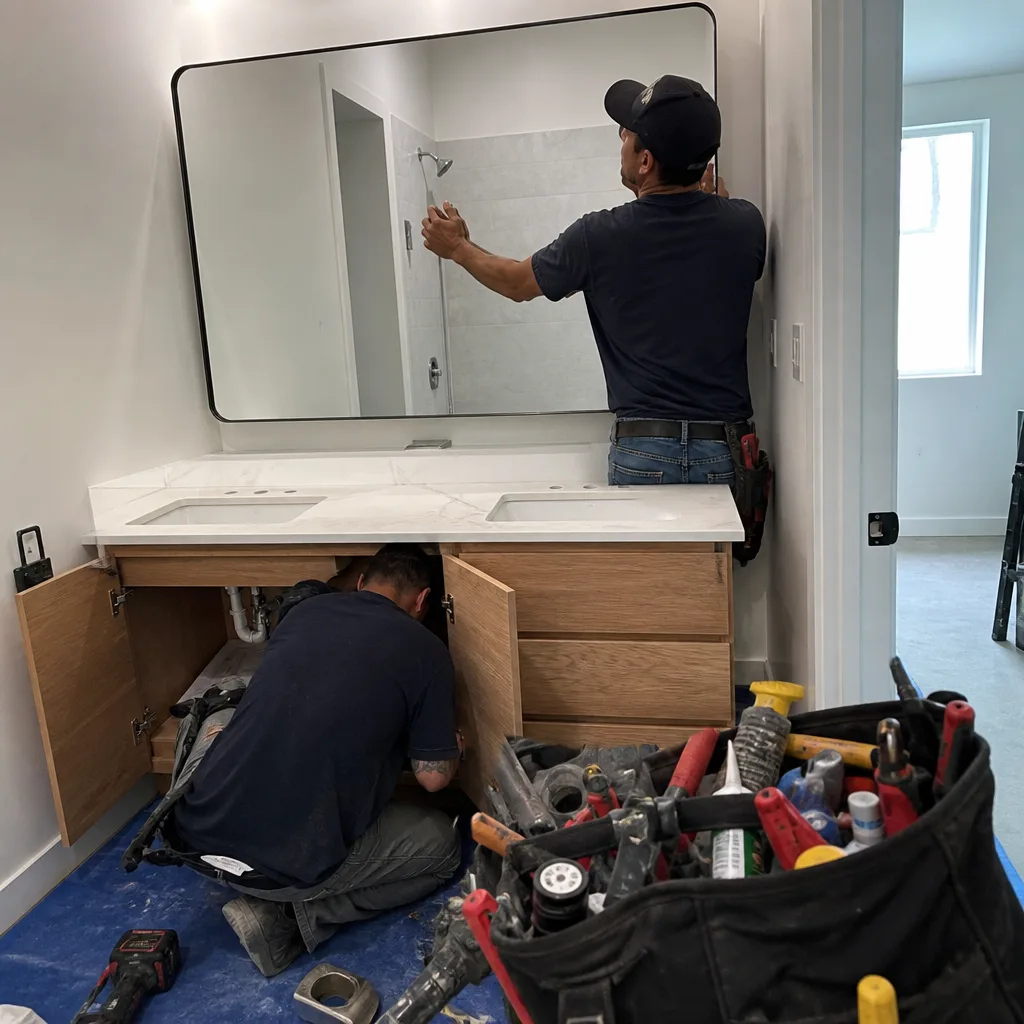
Silicone caulk is not permanent. In a kitchen, it faces thermal cycling from cooking, moisture from sinks and steam, and UV exposure near windows. The 3- to 5-year replacement interval we stated at the opening is for premium, neutral-cure silicone (GE Silicone II, Dow 795) in ideal conditions. In practice, we see failure in 18 to 30 months at sink-to-countertop joints where water pools, and in 12 to 18 months at window-to-drywall joints with southern exposure.
Joint Types and Material Selection
Not all caulk is silicone, and not all joints want the same material:
| Joint Location | Recommended Material | Expected Lifespan | Replacement Indicator |
|---|---|---|---|
| Backsplash-to-countertop | Neutral-cure silicone, color-matched | 3-5 years | Visible gap, discoloration, or loss of adhesion |
| Sink-to-countertop (undermount) | 100% silicone, mold-resistant | 2-4 years | Water staining in cabinet below |
| Window-to-drywall | Paintable silicone or hybrid (OSI Quad, Big Stretch) | 5-7 years | Cracking or paint failure at edge |
| Countertop-to-wall (freestanding island) | Backer rod + silicone, or engineered expansion joint | 10+ years | Compression or separation of joint material |
For Los Angeles homeowners in older neighborhoods - Hancock Park, Mid-Wilshire, parts of Pasadena - the structure has settled over decades. Movement joints are more critical here than in new construction. We specify backer rod (closed-cell polyethylene foam) behind caulk at joints wider than 1/4 inch; without it, the caulk cures too thick and tears under movement.
Application Protocol for Replacement
When you replace caulk, the preparation determines the result:
- Remove old caulk completely with a plastic scraper and mineral spirits. Residual silicone prevents new caulk from adhering.
- Clean the joint with isopropyl alcohol and allow to dry 30 minutes.
- Apply painter’s tape 1/8 inch from the joint edge on both sides. This creates clean lines.
- Cut the caulk tube nozzle at 45 degrees, opening sized to the joint width.
- Apply steady pressure, moving the gun at a constant speed. The bead should slightly overfill the joint.
- Tool with a wet finger or rounded sponge, pressing caulk into the joint and removing excess.
- Remove tape immediately, pulling away from the joint at 90 degrees.
- Allow 24 hours cure before water exposure; 72 hours for full cure in high-humidity conditions.
The product matters. GE Silicone II Kitchen and Bath is widely available and performs adequately. For maximum durability, we specify Dow 795 Silicone Building Sealant on our projects; it carries a 20-year durability rating and remains flexible at temperature extremes. In Los Angeles, where Santa Ana winds can drive attic temperatures above 140°F and kitchen wall cavities see significant thermal swing, this flexibility prevents the cohesive failure (tearing within the caulk bead) that causes premature joint failure.
Documentation Log Template for Warranty and Resale
Every manufacturer warranty claim and every California real estate disclosure benefits from contemporaneous documentation. The habit is simple: after each maintenance task, record the date, the product used, the condition observed, and a photograph. Store this digitally with cloud backup.
Here is the template we provide to every kitchen remodeling in Los Angeles client:
| Field | Content | Example |
|---|---|---|
| Date | Exact date of maintenance | March 15, 2024 |
| System/Component | Specific item maintained | Kohler K-596 faucet aerator |
| Task Performed | Action taken | Removed, soaked in 50/50 vinegar solution 30 min, brushed, reinstalled |
| Product Used | Brand and SKU if applicable | White distilled vinegar, Kroger brand |
| Condition Observed | What you found | Moderate scale accumulation, no corrosion on aerator screen |
| Photograph Filename | Reference to stored image | 2024-03-15_faucet_aerator_01.jpg |
| Next Due Date | Calculated from manufacturer interval | June 15, 2024 |
For resale, California Civil Code Section 1102 requires disclosure of material facts affecting property value. A documented maintenance history for major systems - especially the kitchen, which represents 10 to 15 percent of home value - supports the seller’s position that systems were properly maintained. The alternative is the buyer’s inspector finding deferred maintenance, which triggers repair credits or price reductions that far exceed the cost of routine care.
Under the Haven Standard, our crews provide a project closeout binder with manufacturer warranties, care guides, and the as-installed photo record. We encourage homeowners to continue that documentation discipline. The 365-Day Done Right Promise covers installation defects; the maintenance log protects against wear claims that fall outside that window.
Common Mistakes to Avoid
- Using bleach-based cleaners on quartz countertops. Sodium hypochlorite degrades the resin binder in engineered stone. Cambria, Caesarstone, and Silestone all specifically exclude bleach damage from warranty coverage. In Los Angeles, where mold concerns from humidity spikes drive bleach use, this is a frequent and costly error.
- Ignoring aerator scale until flow is reduced by half. By the time flow restriction is noticeable, the aerator screen may be permanently etched. Quarterly removal and soaking prevents this; replacement aerators for Kohler, Moen, and Delta run $8 to $15, but the labor of finding the correct part often exceeds the part cost.
- Applying car wax or furniture polish to cabinets. These products contain silicones and solvents that attract dust and degrade conversion varnish finishes. The correct product is a cabinet-specific cleaner (such as KraftMaid’s or Wellborn’s branded cleaner) or plain water with a drop of mild dish soap.
- Running the range hood without filters installed. Some homeowners remove saturated filters for cleaning and forget to reinstall. The blower motor ingests grease directly, coating the impeller and housing. Cleaning a contaminated blower requires disassembly and degreasing; replacement motors for high-CFM hoods cost $200 to $400 plus labor.
- Caulking over old caulk without complete removal. The new bead adheres to the old, not to the substrate. When the old fails, the new fails with it. Complete removal adds 30 minutes to the job and extends the result by years.
- Skipping the makeup air damper test in Title 24-compliant installations. A failed damper forces the hood to work against negative pressure, reducing effective CFM by 30 to 50 percent and allowing grease deposition on cabinet faces. The test takes 60 seconds; the repair, if caught early, is a $40 actuator.
- Documenting maintenance verbally or from memory. Warranty representatives ask for receipts, photographs, and dated records. “I did it regularly” is not evidence. The 15 minutes to complete the log template after each task protects thousands in potential warranty value.
When to Call a Professional
Some maintenance tasks cross into repair territory. Call a licensed contractor if you observe: water staining on cabinet floors that persists after tightening visible fittings; electrical outlets that trip GFCI repeatedly after the initial break-in period; countertop cracks or separations at seams, which indicate substrate movement or inadequate support; range hood noise increase or vibration, suggesting blower imbalance or duct obstruction; or any gas odor near the cooktop, which requires immediate shutoff and professional inspection.
For kitchen systems that were professionally installed, the original contractor is often the most efficient resource - they know the specific products, the installation conditions, and the applicable warranty terms. Rowan Construction Group Los Angeles home offers free estimates for Los Angeles homeowners evaluating maintenance concerns or planning system upgrades. Call (213) 652-7670 to schedule a visit; estimates are written, line-itemed, and delivered before any work is discussed.
Frequently Asked Questions
Natural stone grout should be sealed every 6 to 12 months, depending on cooking frequency and water exposure. Test by sprinkling water on the grout; if it darkens within 5 minutes, reseal immediately. In Los Angeles, where many homes have open-plan kitchens adjacent to outdoor living spaces, grout sees more foot traffic and moisture variation than in closed kitchens, tending toward the shorter interval. Call (213) 652-7670 for product recommendations specific to your installation - estimates are free.
Yes, if the manufacturer can demonstrate that improper maintenance caused the defect. Cambria, Caesarstone, and Silestone each publish care guides that define “proper maintenance” as a warranty condition. California’s implied warranty law does not override these express terms. The most common voided claim we see is thermal shock damage from hot cookware placed directly on quartz, which all three manufacturers exclude explicitly. Document your maintenance to support any future claim.
Kohler specifies a 50/50 solution of white vinegar and water, applied with a soaked cloth for no more than 2 minutes, then rinsed thoroughly. Prolonged vinegar exposure damages Vibrant PVD finishes. For aerators, remove and soak 30 minutes in the same solution, then brush with a soft toothbrush. In Los Angeles Valley zip codes where hardness exceeds 300 ppm, establish a quarterly schedule - monthly if you observe rapid scale return. Call (213) 652-7670 for an exact assessment of your fixtures’ condition.
The general rule is 100 CFM per 10,000 BTU of cooktop output. A standard 30-inch gas range at 50,000 BTU needs 500 CFM minimum; pro-style ranges at 90,000+ BTU need 900 CFM or more. In Los Angeles, Title 24 requires makeup air for hoods over 400 CFM, which adds complexity but ensures the hood actually moves its rated air volume. If your hood is underspecified, you will observe grease accumulation on cabinet faces and persistent cooking odors. We assess hood adequacy during our free estimate visits.
Homeowners can replace caulk successfully with proper preparation: complete removal of old material, substrate cleaning with alcohol, correct product selection, and adequate cure time before water exposure. The skill threshold is moderate. Hire a contractor if the joint is wider than 1/4 inch (requires backer rod), if water damage is visible behind the joint, or if the surface includes natural stone that could be stained by improper masking. Rowan Construction Group includes caulk condition assessment in our maintenance evaluation visits.
You need dated proof of purchase, dated proof of installation, the manufacturer’s care guide with your maintenance annotations, receipts for maintenance products, and photographs of the maintained condition. The documentation log template in this guide structures this information. For resale in California, this same documentation supports your disclosure that systems were properly maintained, reducing buyer inspection objections. Start the log with your first maintenance task; retroactive documentation is weaker and often impossible to reconstruct.
The Bottom Line
A kitchen remodel in Los Angeles represents a significant investment, and its longevity depends on maintenance that is specific, calendar-driven, and documented. The critical tasks are: grout sealing every 6 to 12 months for natural stone; faucet aerator descaling quarterly in hard water areas; range hood filter replacement every 3 to 6 months by CFM rating; garbage disposal flushing monthly; cabinet hardware torque checks annually; and caulk joint inspection every 18 months with replacement at 3 to 5 years. Skip these and you risk voiding manufacturer warranties, accelerating material degradation, and facing disclosure issues at resale. Perform them with documentation, and you protect your investment with evidence that supports every future claim.
For homeowners evaluating their kitchen’s current condition or planning a renovation, Kitchen Remodeling in Los Angeles by Rowan Construction Group delivers written, line-itemed pricing before any work begins, a documented photo record on every visit, and the 365-Day Done Right Promise backed by The Haven Standard. Call (213) 652-7670 to schedule your free estimate.
Written by Grant Rowan, Owner at Rowan Construction Group Los Angeles, serving Los Angeles since 2007.